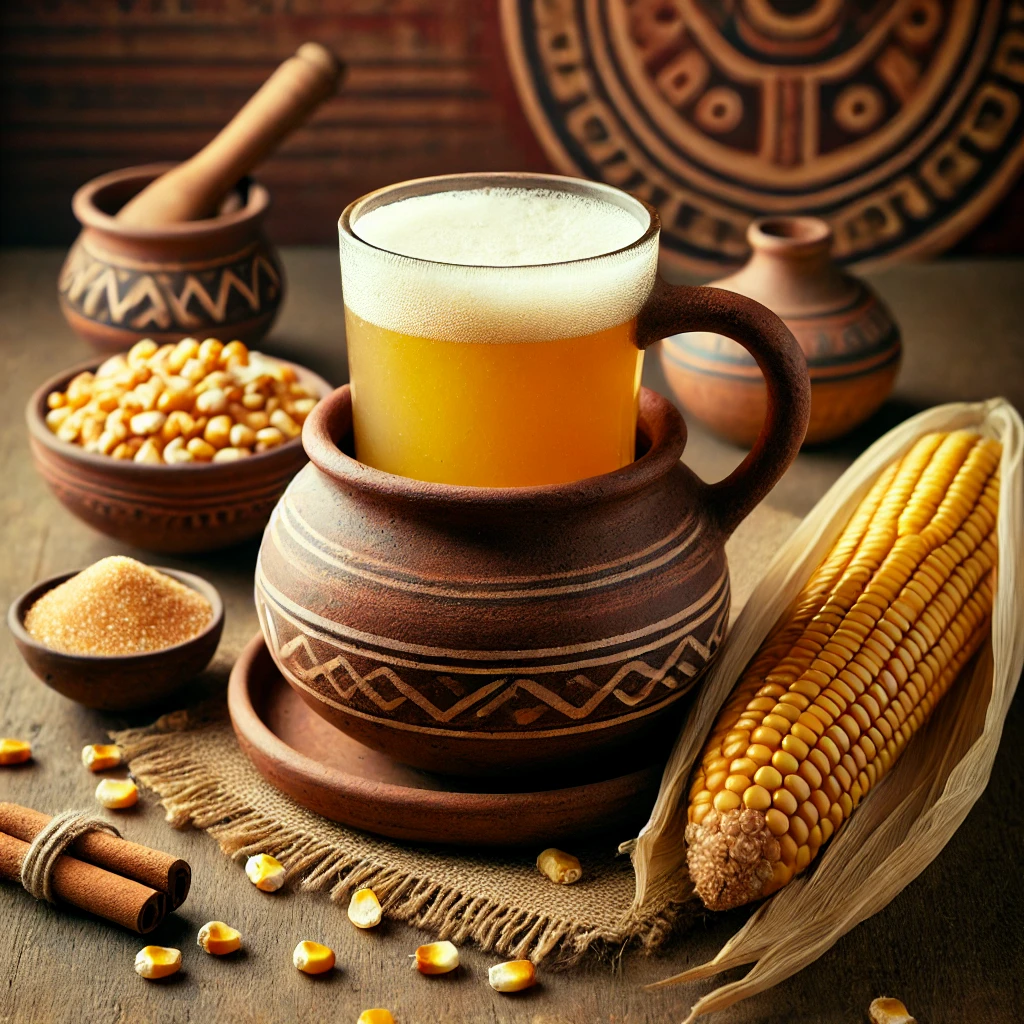
How to Ferment Chicha de Jora
How to Ferment Chicha de Jora: A Traditional Peruvian Corn Beer
Chicha de Jora is one of Peru’s oldest and most beloved beverages, traditionally made from fermented maize (corn). This slightly sour, mildly alcoholic drink has deep cultural roots, dating back to the Incan Empire when it was used in religious ceremonies, festivities, and daily life. Today, Chicha de Jora remains a favorite in many regions of Peru, and its unique brewing process offers a fascinating glimpse into ancient fermentation techniques. In this blog post, we’ll walk you through the step-by-step process of fermenting your own Chicha de Jora at home.
What is Chicha de Jora?
Chicha de Jora is a fermented corn beer, typically made from yellow maize. The fermentation process produces a mildly alcoholic beverage with a slightly sour and tangy taste. In Peru, Chicha de Jora is enjoyed as a refreshing drink, and it’s often served in large clay pots or gourds. The alcohol content varies depending on how long it is fermented, but it’s generally a low-alcohol drink compared to modern beers.
The Ingredients
- Dried yellow corn kernels (jora maize): 1 kg (2.2 lbs)
- Water: 4-5 liters (1-1.3 gallons)
- Cinnamon sticks: 2-3 (optional)
- Cloves: 4-5 (optional)
- Panela (raw sugar): 200-250g (7-8 oz) (optional for added sweetness)
Equipment
- Large pot for boiling the corn
- Large fermentation vessel (preferably made of clay, glass, or stainless steel)
- Cheesecloth or a fine mesh strainer
- Airtight cover for the fermentation vessel
Step-by-Step Guide to Fermenting Chicha de Jora
1. Prepare the Corn
The key ingredient in Chicha de Jora is the jora maize, a variety of corn that has been dried and malted. If you don’t have access to jora maize, you can use regular dried yellow corn kernels, but jora maize gives a more authentic flavor.
- Begin by washing the dried corn kernels thoroughly.
- Spread the corn kernels on a tray and soak them in water for about 24 hours.
- Once they are soft, drain the water and allow them to sprout by placing them in a warm, dark area. This process can take a few days and helps release the natural sugars in the corn, which are essential for fermentation.
2. Boil the Corn
Once the corn has sprouted, the next step is to boil it.
- In a large pot, add the sprouted corn and cover it with 4-5 liters of water.
- Bring the water to a boil, then reduce the heat and let it simmer for 4-5 hours. This long simmering time extracts the starches from the corn, turning the water a yellowish color.
- If you want to add additional flavor, you can include cinnamon sticks and cloves during the boiling process.
- After the cooking time is done, remove the pot from heat and allow it to cool to room temperature.
3. Strain the Liquid
After the corn has boiled and the liquid has cooled, you need to strain the liquid to remove the solid corn kernels.
- Use cheesecloth or a fine mesh strainer to separate the liquid from the corn solids. The liquid you collect will serve as the base for fermentation.
- If you want to sweeten your Chicha de Jora, this is the time to add panela (raw sugar). Stir it in until fully dissolved.
4. Ferment the Chicha
Now it’s time for the fermentation process, which transforms the starchy corn liquid into a mildly alcoholic drink.
- Pour the strained liquid into your fermentation vessel, ensuring it is clean and sterile.
- Cover the vessel with an airtight lid, but allow a small opening for gas to escape. Fermentation produces carbon dioxide, so the container should not be completely sealed.
- Let the liquid ferment at room temperature for 4-7 days. The longer you ferment, the more alcoholic and sour the Chicha will become. Check the fermentation daily to ensure it’s progressing properly.
5. Taste and Bottle
After the fermentation period, your Chicha de Jora should have developed a slightly tangy, sour flavor. Taste the brew to ensure it’s to your liking. If you prefer a milder flavor, ferment for a shorter time, or if you want a more intense sourness, allow it to ferment longer.
- Once the desired flavor is reached, strain the Chicha one last time to remove any remaining solids.
- Bottle the Chicha de Jora in airtight bottles and store it in the refrigerator if you plan to consume it within a few days.
6. Serve and Enjoy
Chicha de Jora is traditionally served in large clay vessels or gourds and enjoyed at room temperature or slightly chilled. It’s often consumed during festivals, celebrations, and communal gatherings, accompanied by savory snacks like roasted corn or tamales.
Why Make Your Own Chicha de Jora?
Fermenting your own Chicha de Jora is a rewarding and unique way to connect with ancient Incan traditions. While it may seem complex at first, the process is quite straightforward and gives you a taste of history in every sip. Whether you’re exploring the rich flavors of Peruvian cuisine or simply looking for a fun fermentation project, Chicha de Jora is a fantastic addition to your culinary repertoire.