Kefir Making Kits
Key Takeaways
- Kefir making kits provide an easy way to create your own kefir at home.
- These kits typically include kefir grains, jars, and instructional materials.
- Different types of kefir can be made, including dairy and non-dairy options.
- Understanding the fermentation process is essential for successful kefir production.
Kefir is a delicious fermented drink thatâs packed with probiotics. Making your own kefir at home can be a rewarding experience, and with the right kefir making kit, itâs easier than ever. In this guide, weâll explore what to look for in a kefir making kit, how to use it effectively, and tips for getting the best results.
What is kefir?
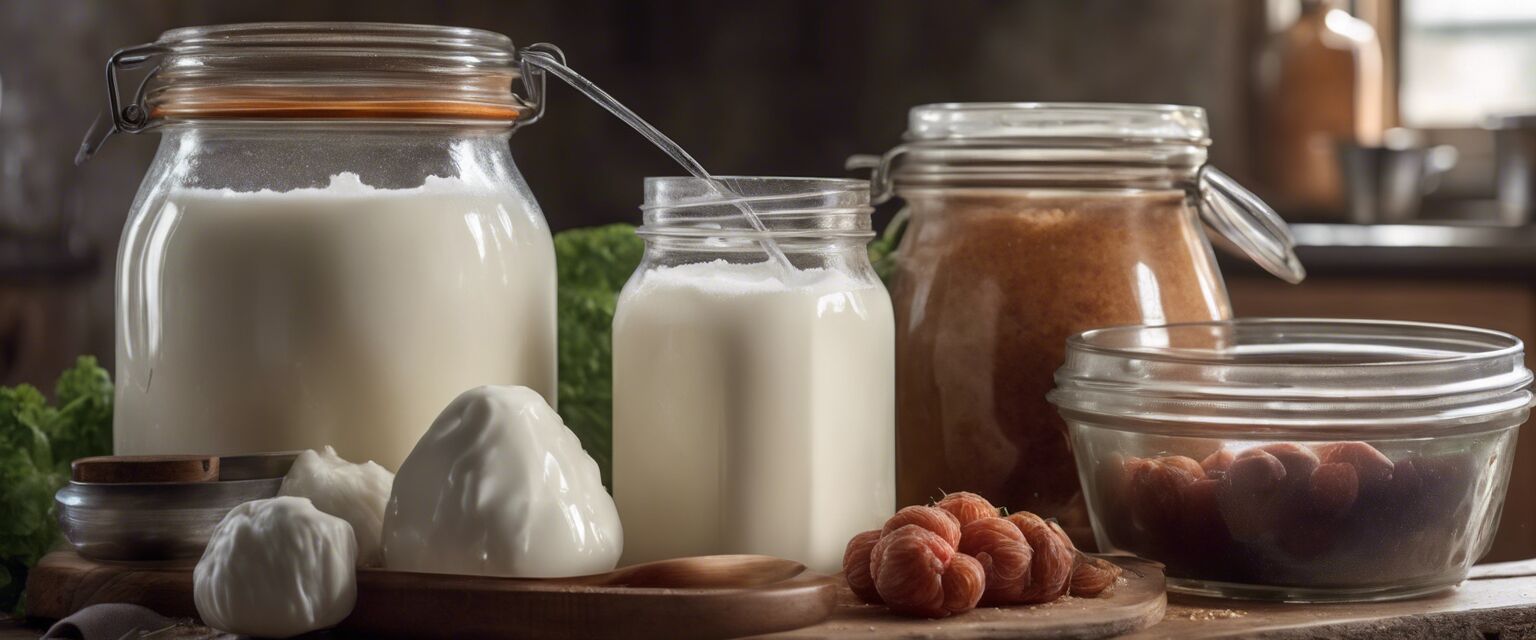
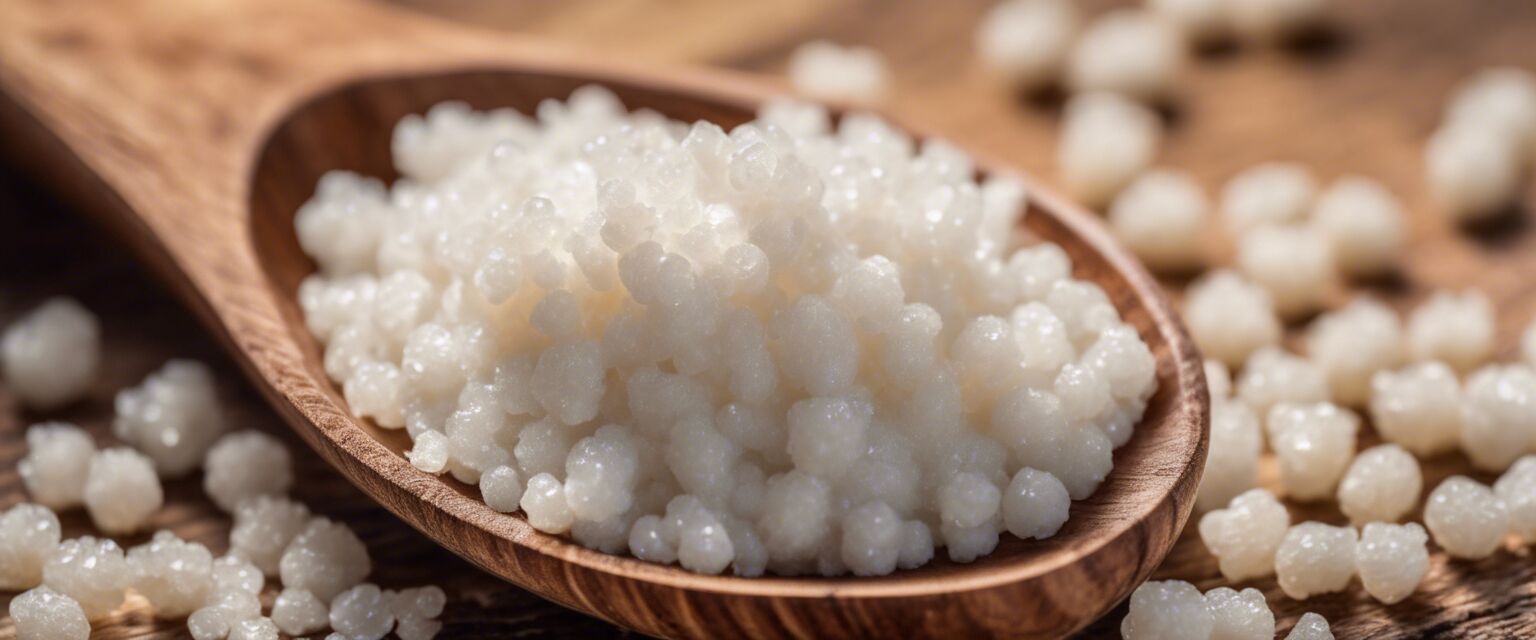
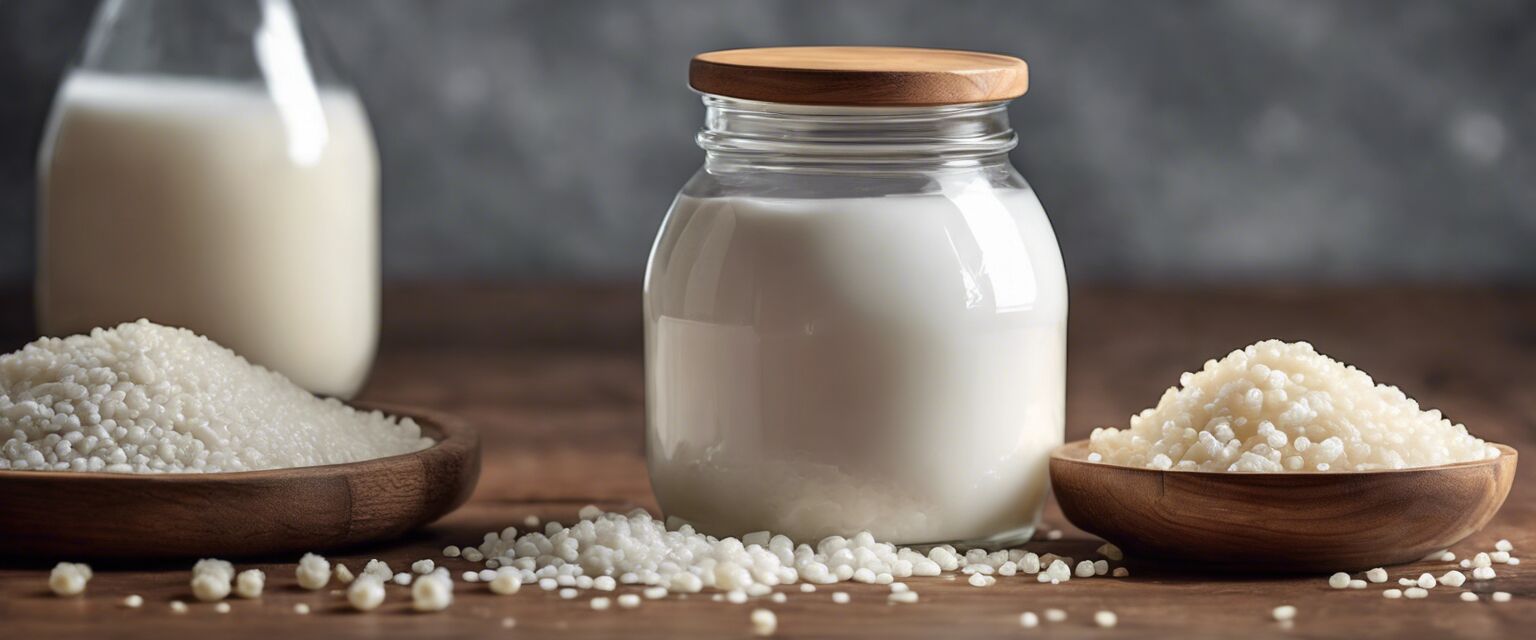
Kefir is a tangy, creamy beverage that originates from the Caucasus region. Itâs made by fermenting milk or water with kefir grains, which are a combination of bacteria and yeast. The fermentation process transforms the ingredients into a probiotic-rich drink that can be enjoyed on its own or used in smoothies, salad dressings, and other recipes.
Benefits of using kefir making kits
- Convenience: Kits come with everything you need to get started.
- Cost-effective: Making your own kefir is often cheaper than buying it from the store.
- Customization: You can experiment with flavors and types of milk or alternatives.
- Health benefits: Homemade kefir can be fresher and contain beneficial probiotics.
What to look for in a kefir making kit
When choosing a kefir making kit, consider the following factors:
| Feature | Description |
|---|---|
| Kefir grains | Look for high-quality, active grains that can produce kefir quickly. |
| Fermentation jars | Ensure the kit includes glass jars that are suitable for fermentation. |
| Instructions | Clear and comprehensive instructions will help you succeed in your kefir-making journey. |
| Accessories | Some kits may include strainers, spoons, or pH testing strips to aid in the process. |
How to use a kefir making kit
Step-by-step guide
- Gather ingredients: You will need milk (or a non-dairy alternative) and kefir grains.
- Prepare your jar: Make sure your fermentation jar is clean and ready to use.
- Add ingredients: Pour the milk into the jar and add the kefir grains.
- Cover and ferment: Cover the jar with cheesecloth or a breathable lid and let it sit at room temperature for 24-48 hours.
- Strain and enjoy: After fermentation, strain out the grains and enjoy your homemade kefir!
Tips for successful kefir making
Beginner tips
- Start with small batches to perfect your technique.
- Keep the fermentation environment consistent in temperature.
- Taste your kefir periodically to find the flavor you enjoy.
- Store unused kefir grains in milk in the refrigerator for longer shelf life.
- Experiment with flavoring your kefir after fermentation with fruits or spices.
Common mistakes to avoid
- Using metal utensils, which can react with the kefir grains.
- Not allowing enough fermentation time, leading to weak flavor.
- Forgetting to strain the grains, which can cause over-fermentation.
- Storing kefir grains in the wrong environment, which can affect their viability.
Types of kefir you can make
Depending on your preferences, you can create different types of kefir:
| Type | Description |
|---|---|
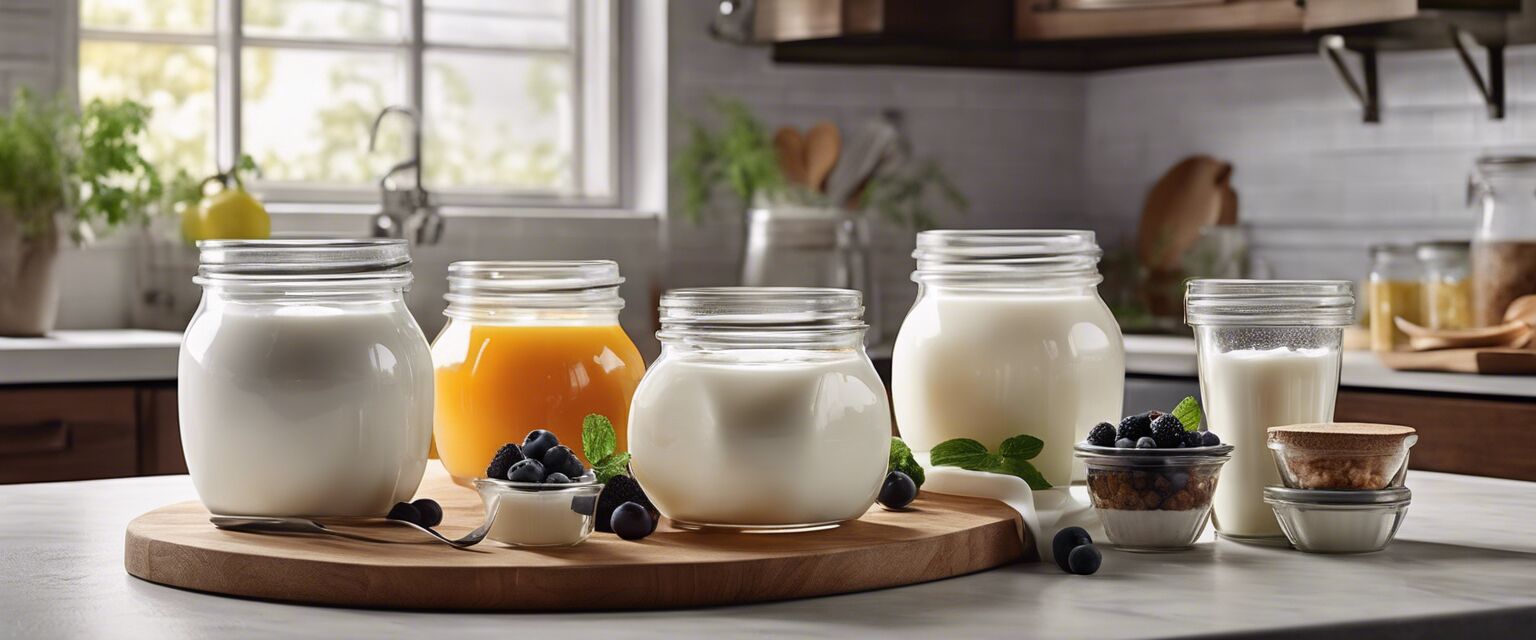
| Dairy kefir | Made with milk, resulting in a creamy, tangy beverage. |
| Water kefir | Made with sugar water or fruit juice, offering a refreshing, fizzy drink. |
| Coconut kefir | Utilizes coconut milk for a tropical twist on traditional kefir. |
| Non-dairy kefir | Can be made with almond, soy, or oat milk for those avoiding dairy. |
Storing your kefir
To maintain the quality of your kefir, proper storage is essential. Hereâs how to store your kefir effectively:
- Keep it refrigerated in a sealed container to extend its shelf life.
- Consume within 1-2 weeks for the best flavor and probiotic benefits.
- If you have excess kefir grains, store them in a fresh milk solution in the fridge.
Conclusion
Kefir making kits are an excellent way to dive into the world of fermentation. With the right kit and some practice, you can enjoy delicious homemade kefir that suits your taste. Whether you prefer dairy or non-dairy options, making kefir at home is an exciting and healthy journey.
Pros
- Easy to use for beginners.
- Affordable compared to store-bought options.
- Customizable flavors and types.
- Health benefits from probiotics.
Cons
- Requires time and patience for fermentation.
- Can be messy if not monitored.
- Some may find the taste acquired.
- Need to maintain the grains for continued use.
Further resources
To learn more about home fermentation, check out our other articles:
Image Gallery
